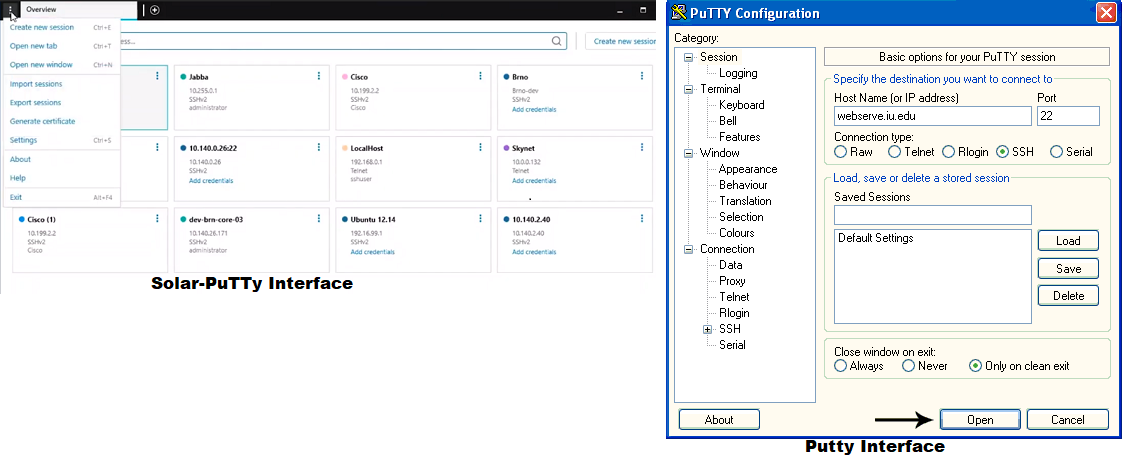
Since SSH is implemented using the client-server model, you will first have to install an SSH client on the admin computer before you can access the remote system. Putty is arguably the most popular SSH client and I doubt there is any Network engineer who has not heard of it. Chances are it’s the utility that you are currently using. So, if you are in the market for an SSH client then most likely, it’s because you are looking for a better option. Fortunately, since Putty is very basic, most of the other SSH clients you will come across will be an upgrade. But, in all the melee of programs, there is one that, for me, stands above the rest. Solar-PuTTy. Am certain you have also heard of it enough times to raise your attention and it’s the reason you are here. You seek to know whether Solar-Putty is a worthy Putty alternative and how it’s better than the other SSH clients. You are in luck. That is precisely what I will be addressing in this review.
Who is Solar-PuTTy Meant for?
This tool will be perfect if you use SSH to connect to your switches, routers, servers and other components daily. It is also the perfect tool to make use of the UNIX shell environment as a Windows user. Solar-PuTTy’s modernized interface will be a massive upgrade from the old-style Putty and guess what? It won’t cost you anything to use the software. It is one of the many brilliant free tools from SolarWinds. Apart from supporting SSH, SCP, Telnet, and SFTP standards, I cannot think of another similarity between Solar-PuTTy and Putty. Follow along as we discuss all the functionalities that this SSH client has to offer.
Installation
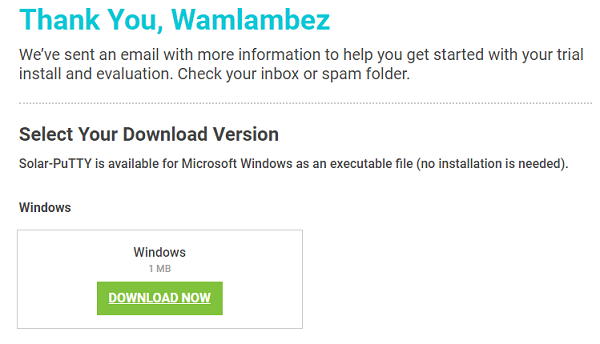
Solar-PuTTy does not require any installation. And we would not have expected otherwise because the original Putty does not require installation either. Once you downloaded the software from the SolarWind’s site you just need to run it and you are good to go. The file size is 1MB. There is one catch though. Solar-Winds requires that you provide them with your contact details, email and phone number, before downloading the tool. It’s a lead generation technique and you should, therefore, be prepared to receive some marketing calls from their sales team.
How to Create new Sessions Using Solar-PuTTy
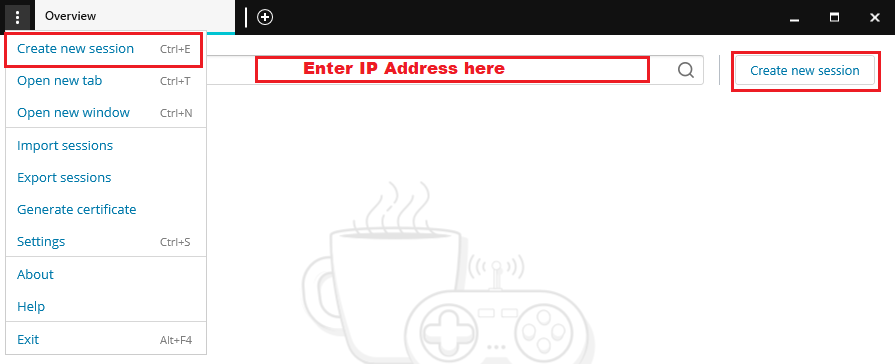
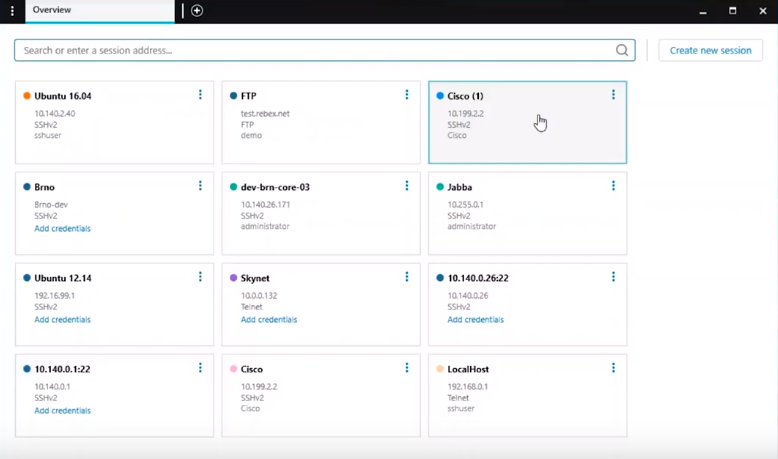
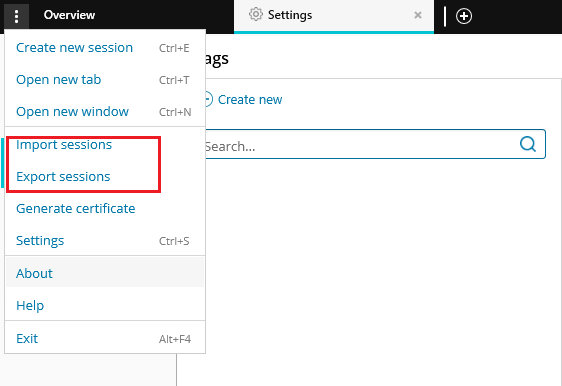
When you run this tool after installation, it opens into the overview page where you will see the option to create a new session. You can do it directly from the interface or through the settings menu. Alternatively, you can enter the IP address of the device you want to log in to and Solar-PuTTy will provide you with the option to start a session. But what really impressed me at this stage is that you can also migrate sessions that you had been using on Putty or any other SSH client into the SolarPutty interface thanks to the import function. This means that if you are transitioning from another SSH software then you don’t have to go through the process of configuring the devices again on Solar-Putty. All the devices that you log into will be displayed on the overview page. Solar-PuTTy does not provide you with a particular way to organize them. Instead, they are arranged based on the most frequently accessed.
Solar-PuTTy’s Highlight Features
Allows you to save remote sessions
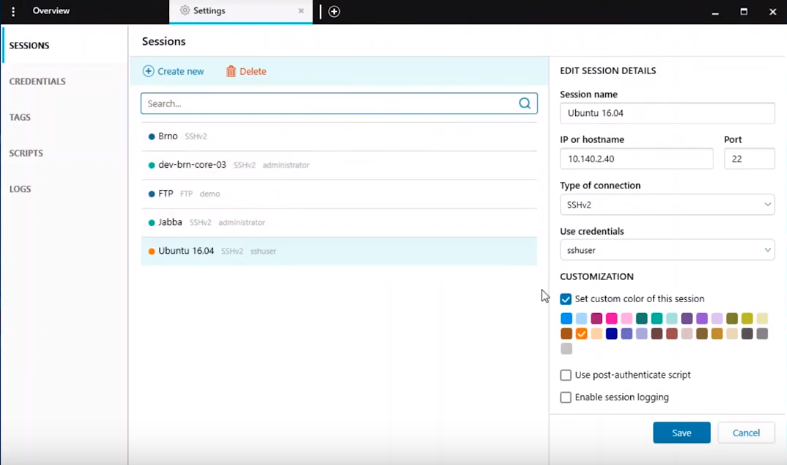
This means that you need to configure a device once and it helps hasten the connection process. Once the device is saved then it can be accessed from the overview dashboard where you simply need to click on it to log in. Solar-PuTTy even allows you to use color-coding where you assign different colors to your devices for easier identification.
Supports tabbing
Every device you connect to opens up in an individual tab. This makes it quite easy to manage multiple sessions since they are all accessible from one console and all you have to do is click on their specific tab.
Supports Login Scripts
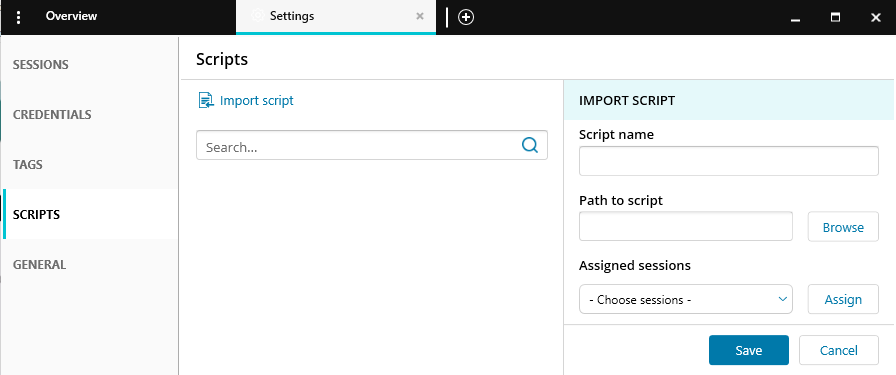
Solar-PuTTy gives you the ability to run scripts after logging in to a device which will be useful in various instances like when you want to preload a configuration on multiple devices.
Allows Storage of Login Credentials
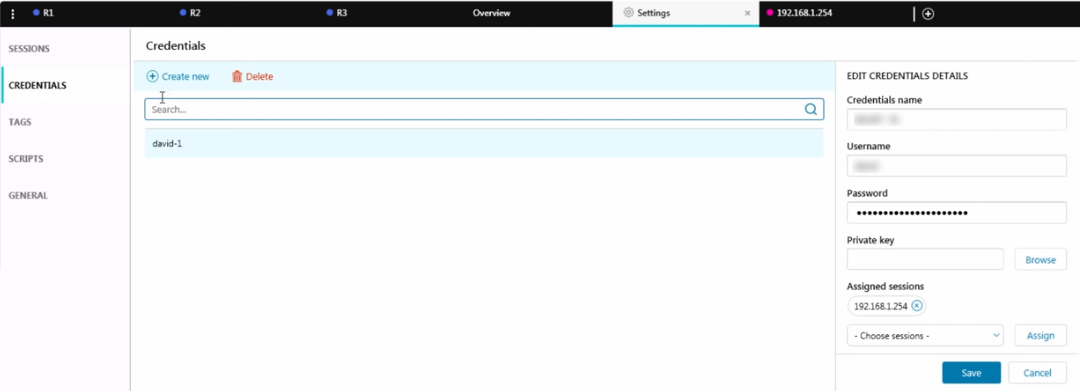
This SSH Client creates an encrypted local file where you can store the login details for your devices. You can create individual login credentials for every device that you set up or you can store a single instance of the credentials that will be used to login to multiple devices. This feature also facilitates another impressive feature, auto-login. This allows you to start a remote session by simply double-clicking on it from a list of your saved sessions without having to manually enter the login details.
Dedicated Search bar
In some instances, you might have too many devices that even accessing them from your list of saved devices is a problem in itself. Good news is that you can easily search for the device on the search bar by specifying its name, IP address, credentials, or related tags. Like I mentioned, the search bar can also be used to initiate new sessions.
Integration with Windows
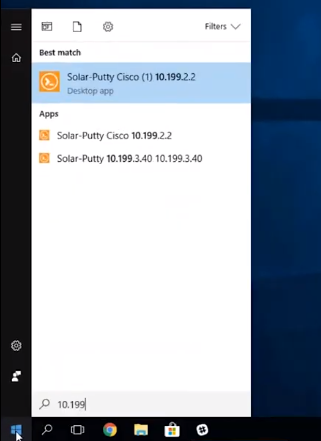
This is another feature that facilitates quick login to your devices. Once your devices have been set up, you can search them up on the Windows search bar and initiate connection without having to open the Solar-PuTTy application.
Importing and Exporting of Sessions
Solar-PuTTy also allows you to export the saved sessions and use them in a different computer which is a great way to save you from configuring them again.
Conclusion
The Solar-PuTTy is a great enhancement to the original putty program. It is free and provides you with an easy way to save manage and access your network components. I highly recommend it.
Customise PuTTy: Change Background and Font Colors in PuTTyShould You be More Careful About Your Identity When Using the InternetMicrosoft Goes Big On Renewable Energy With 1.5GW Generation And Investments In…Elon Musk Ready to “Make an Alternative Phone” If Twitter is Banned from App…

