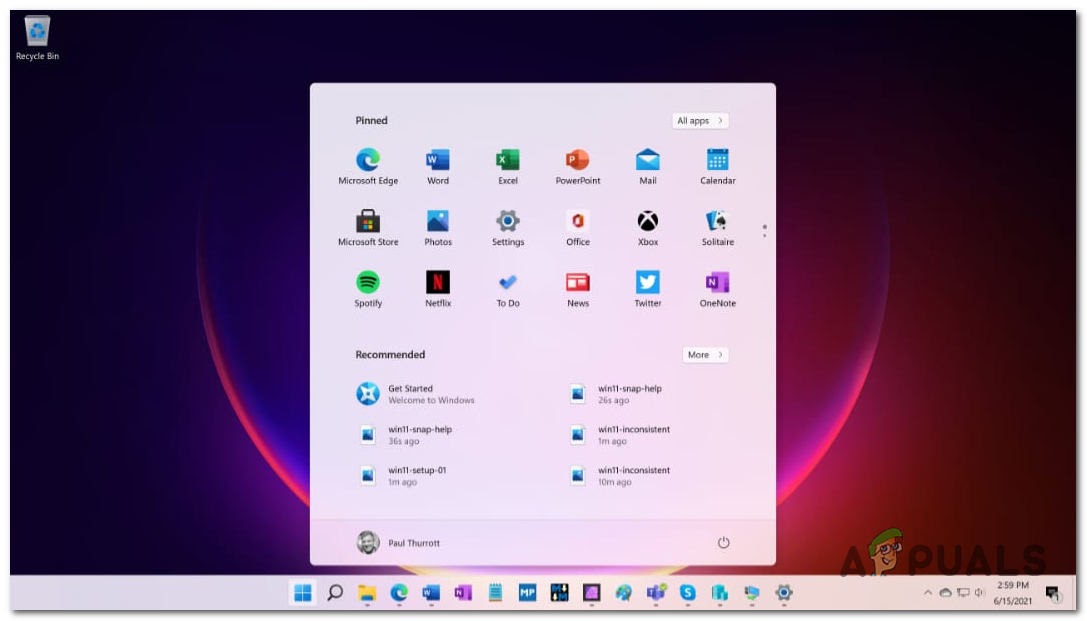
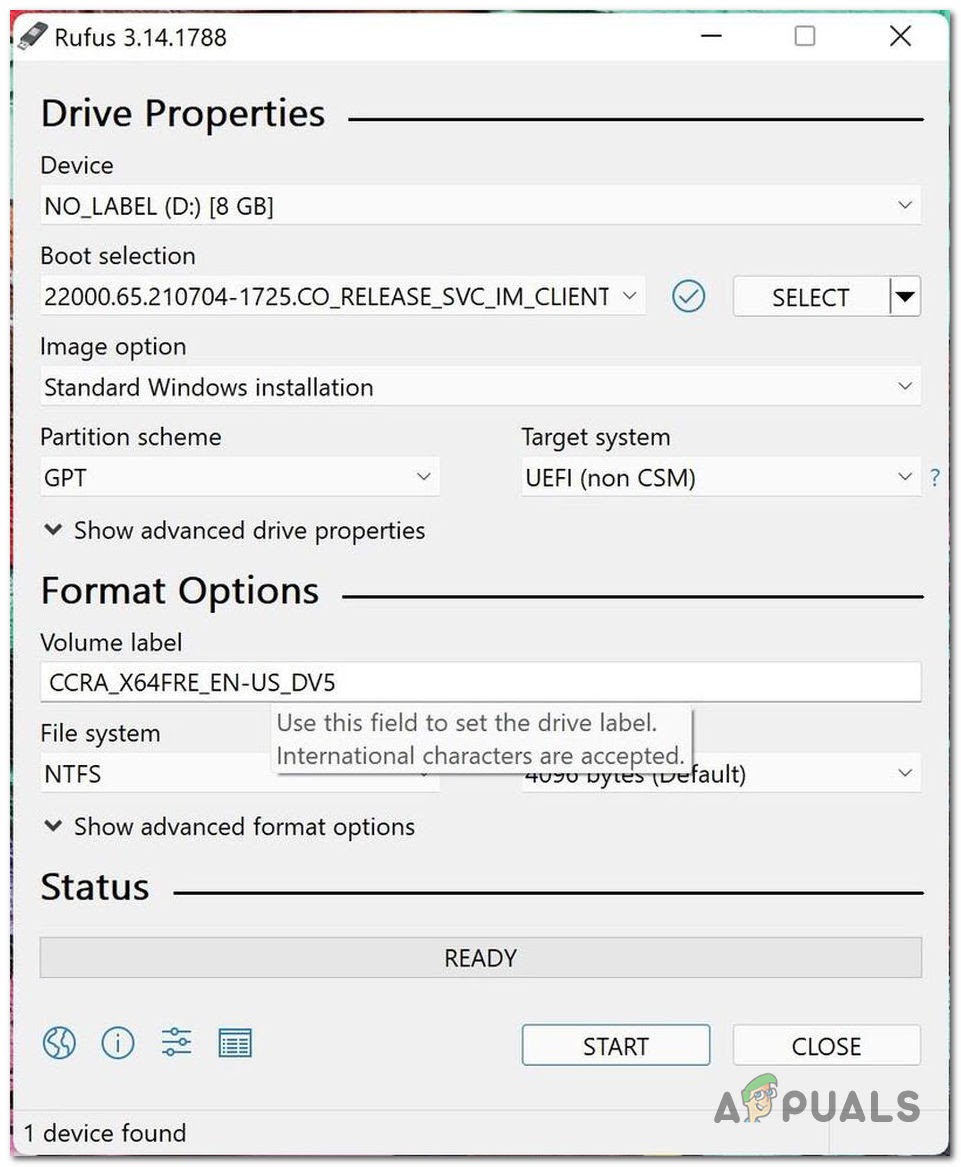
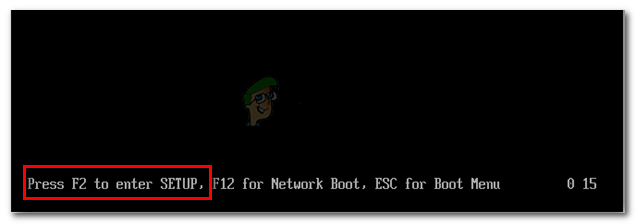
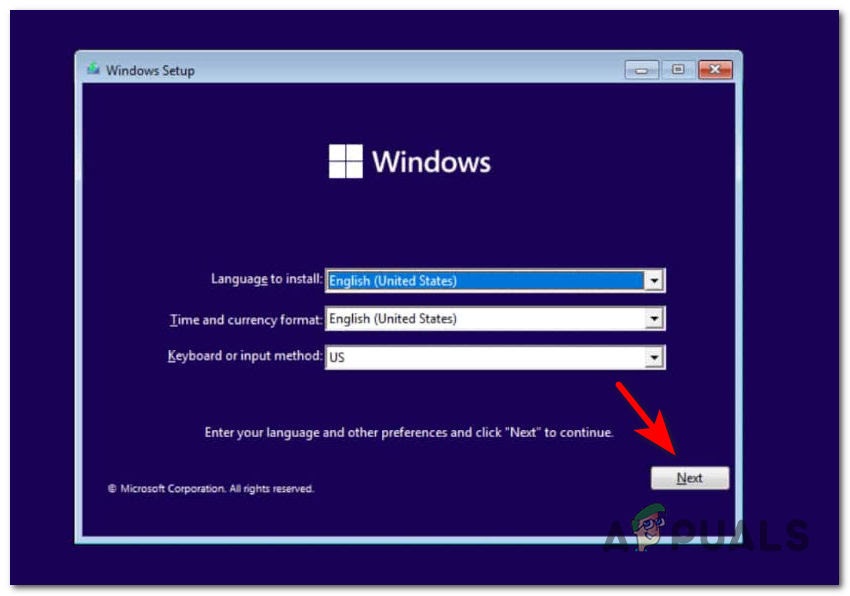
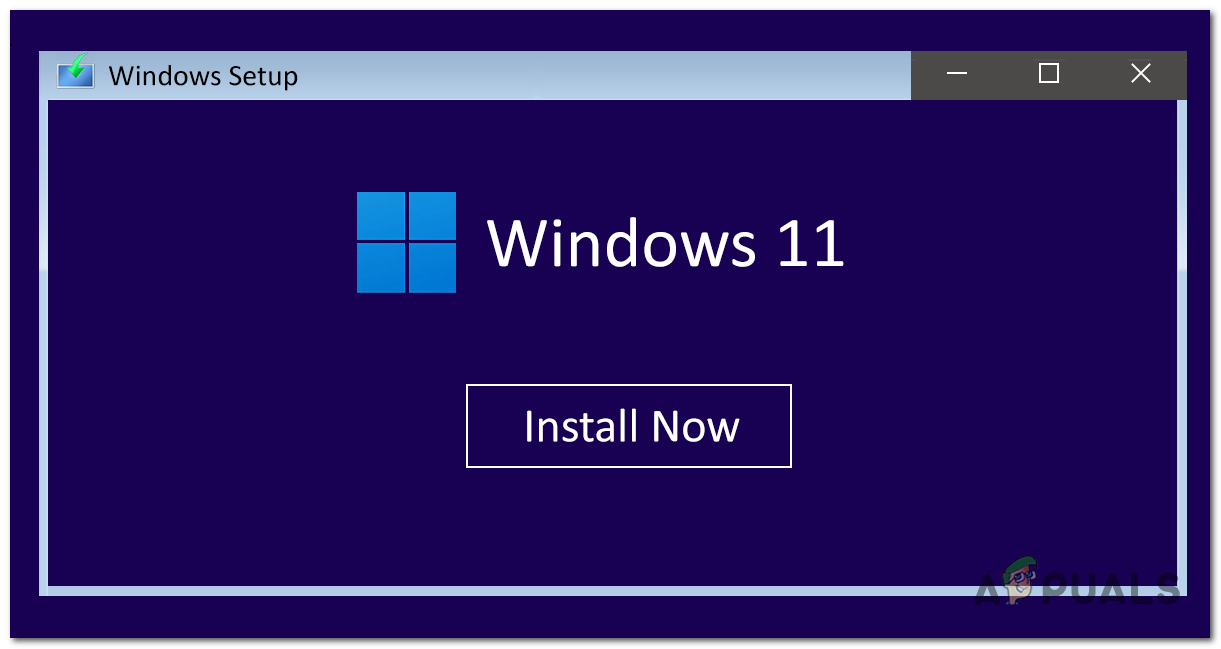
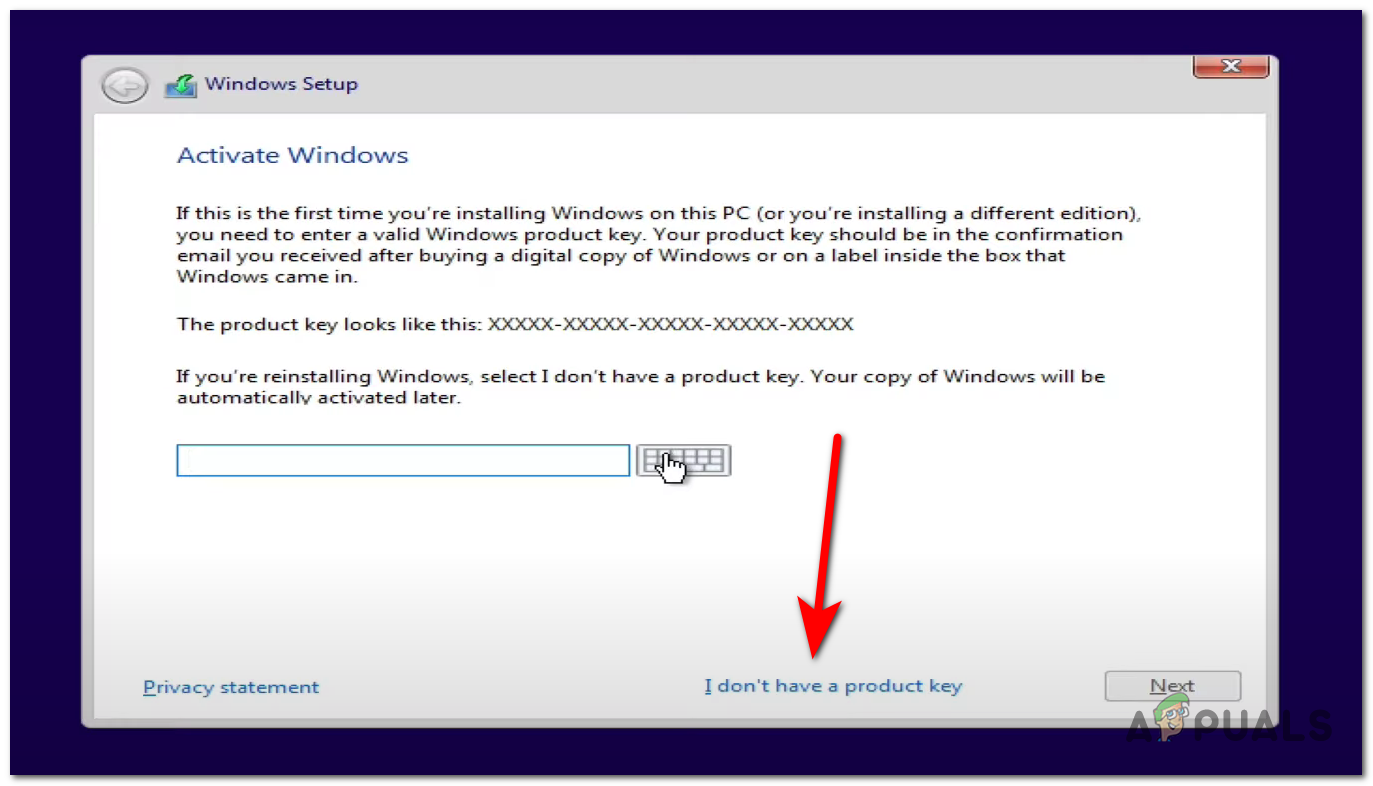
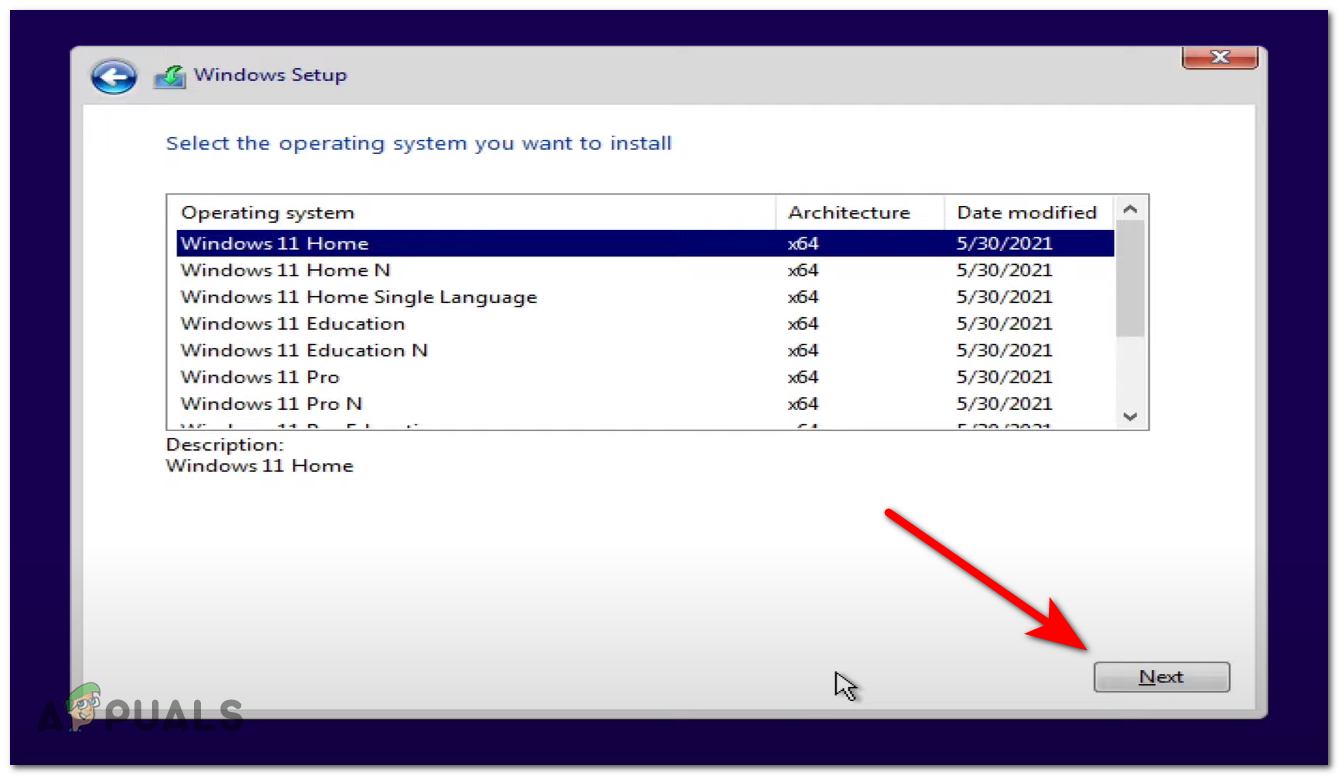
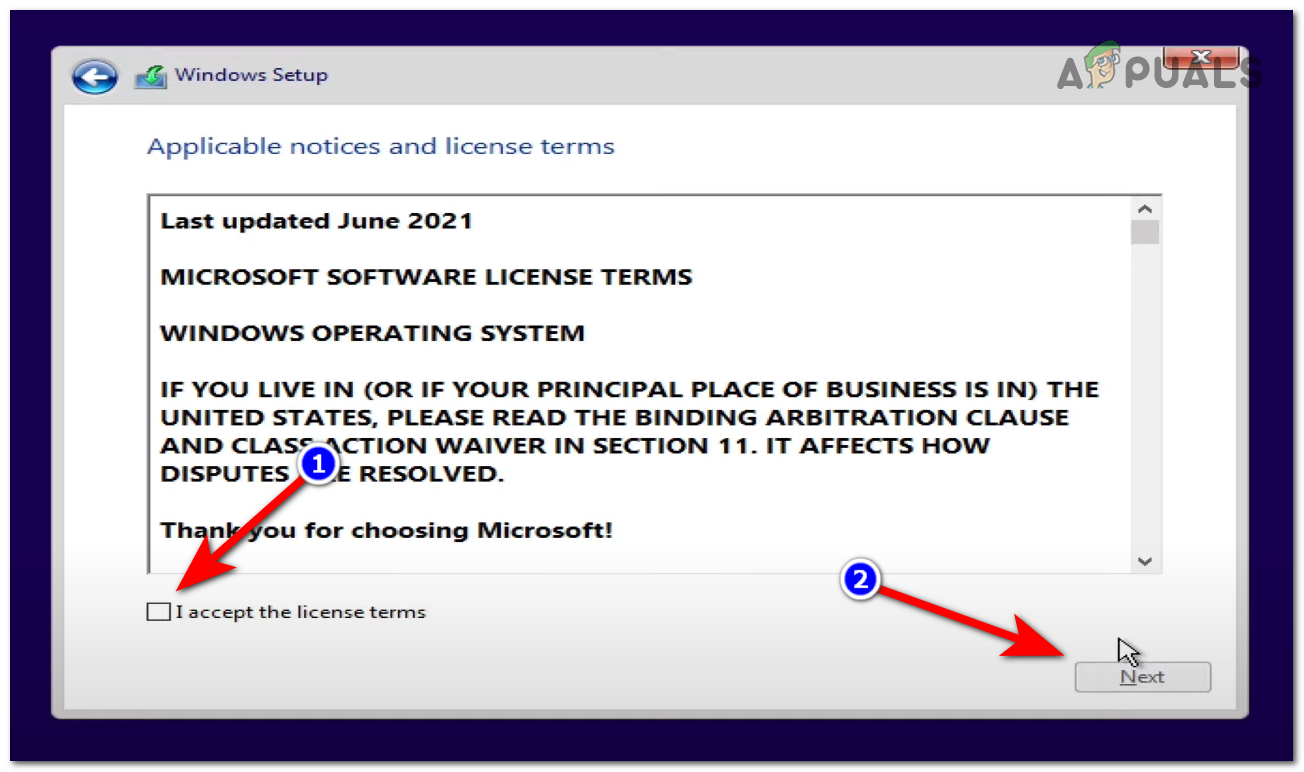
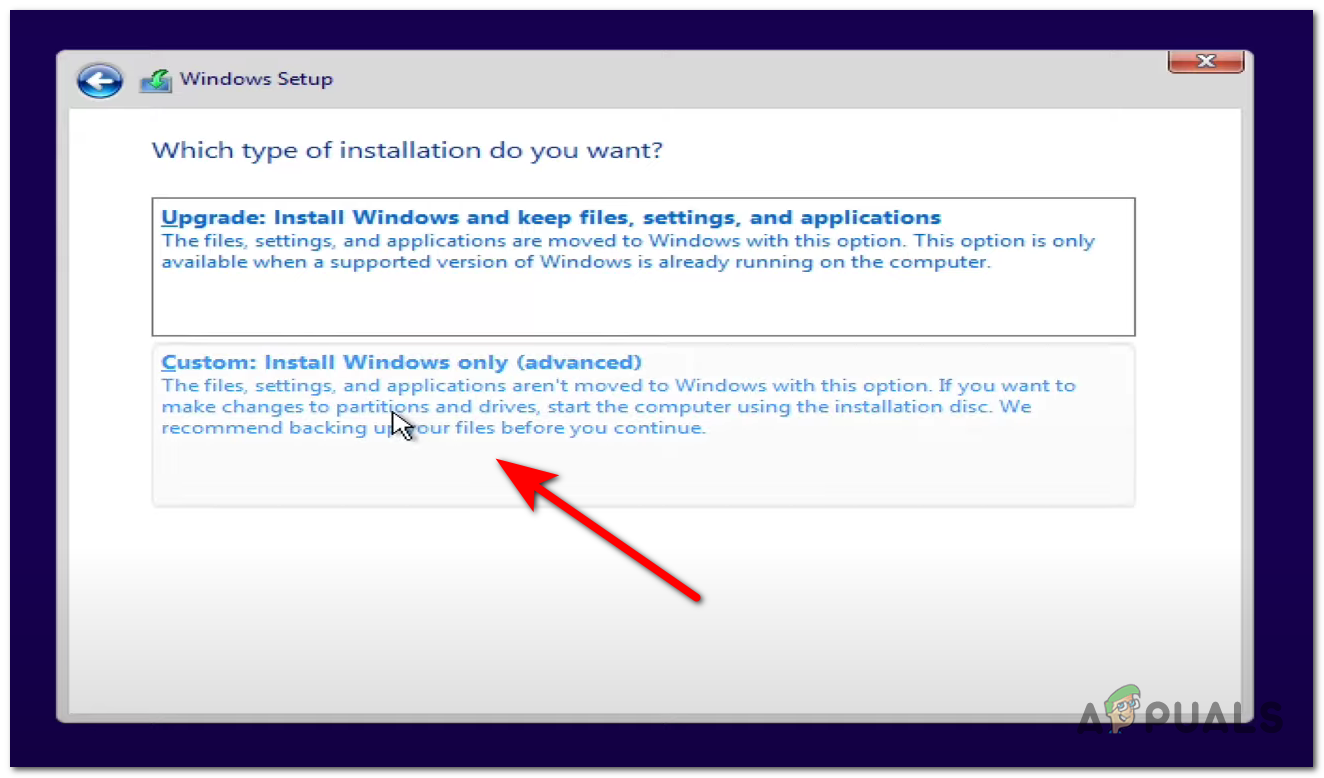
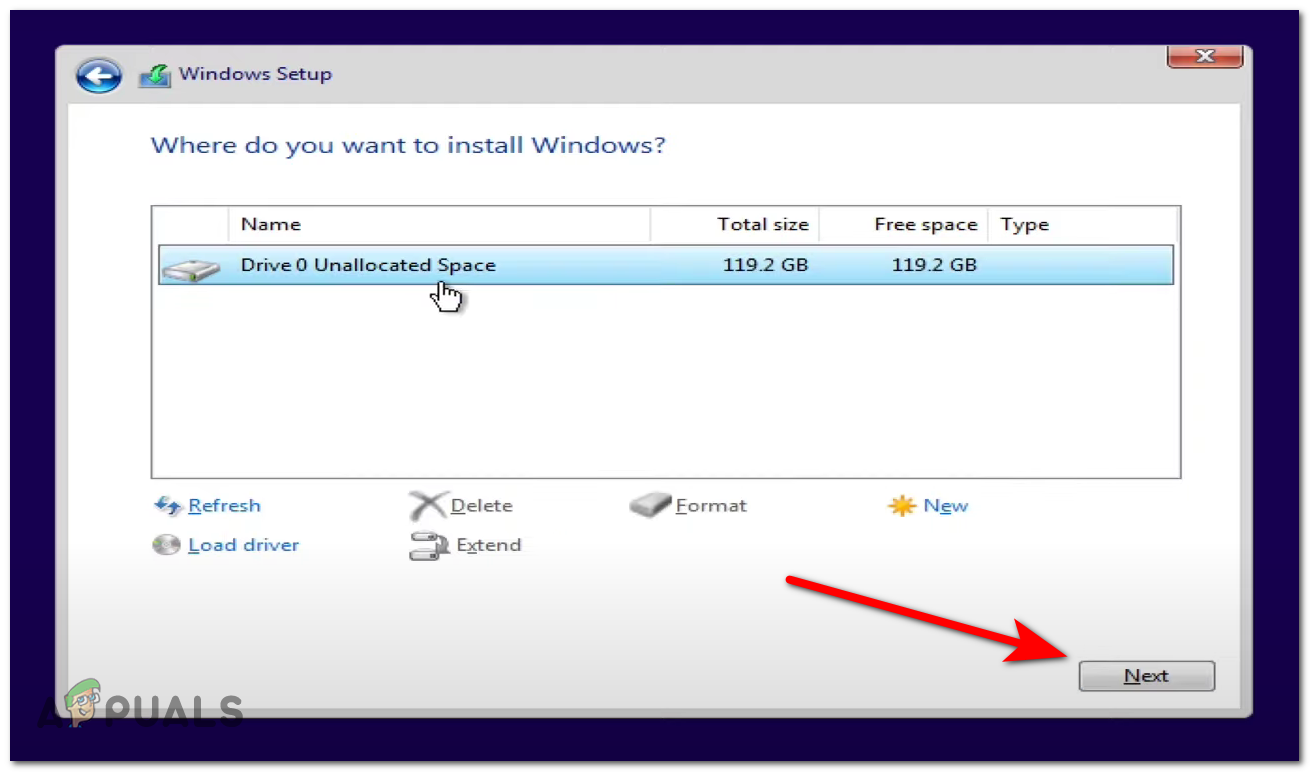
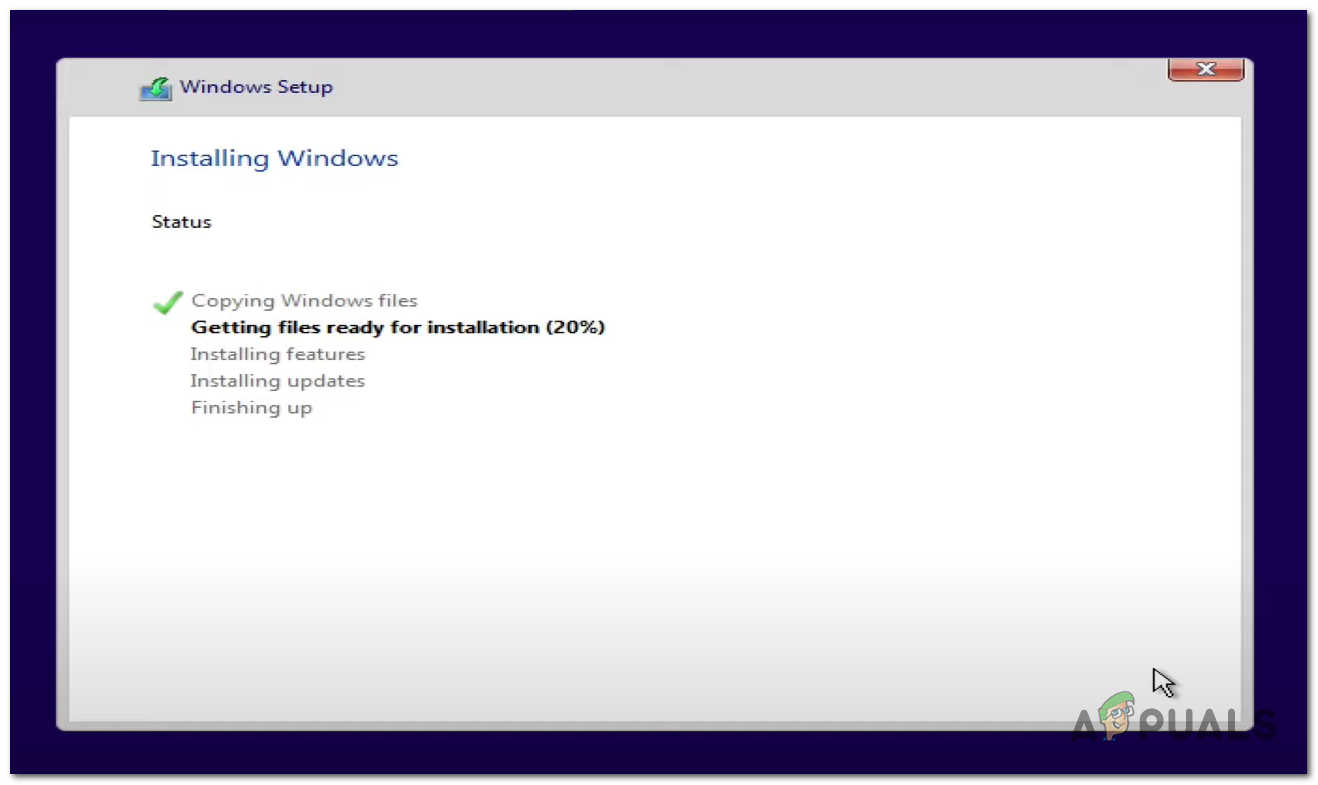
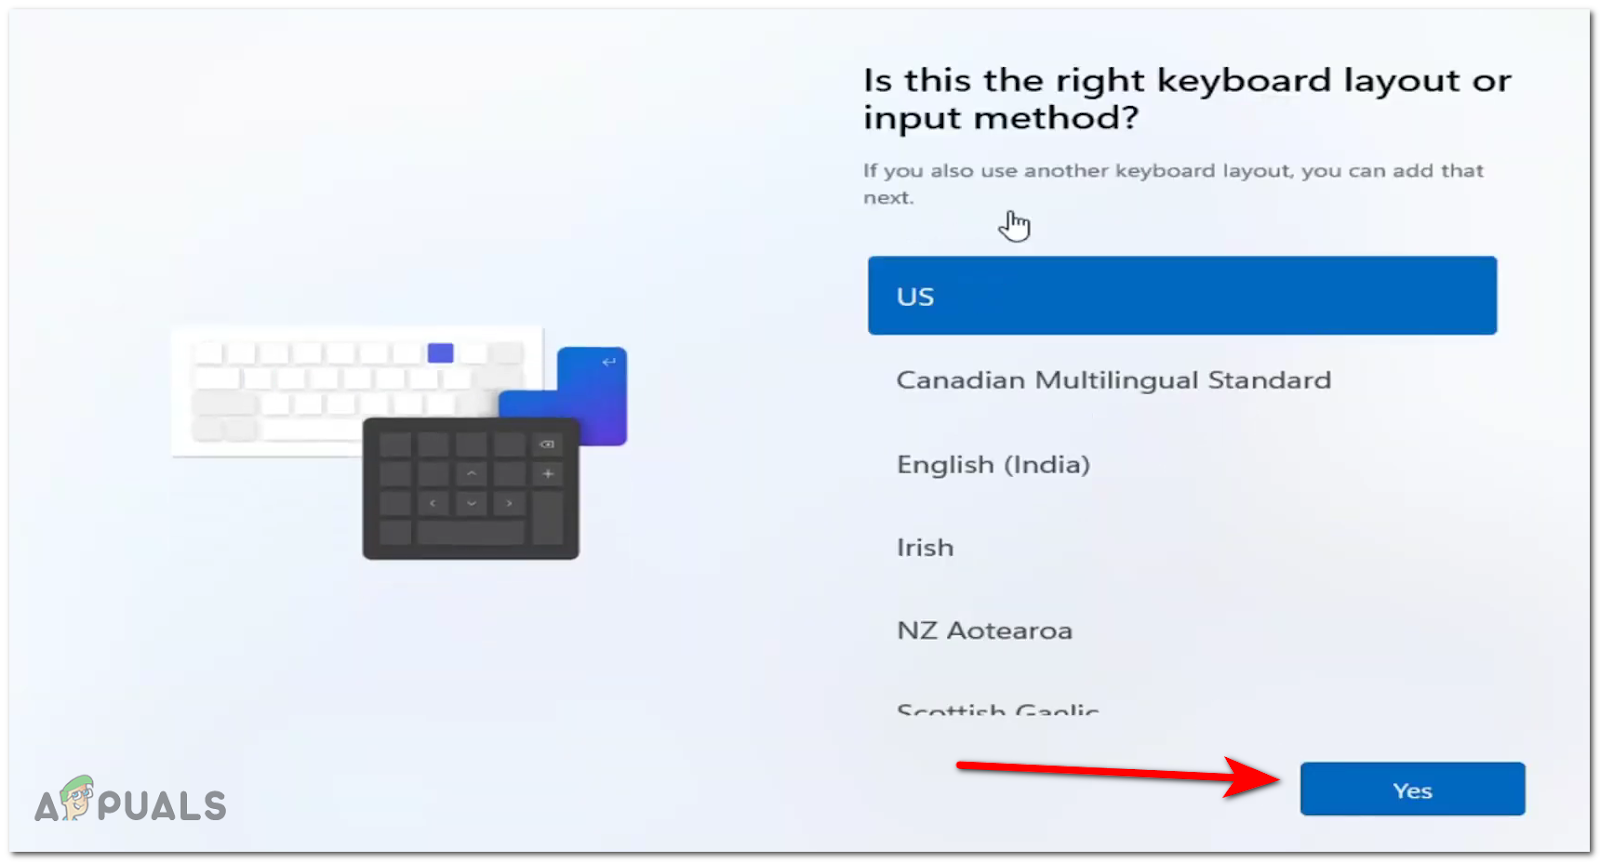
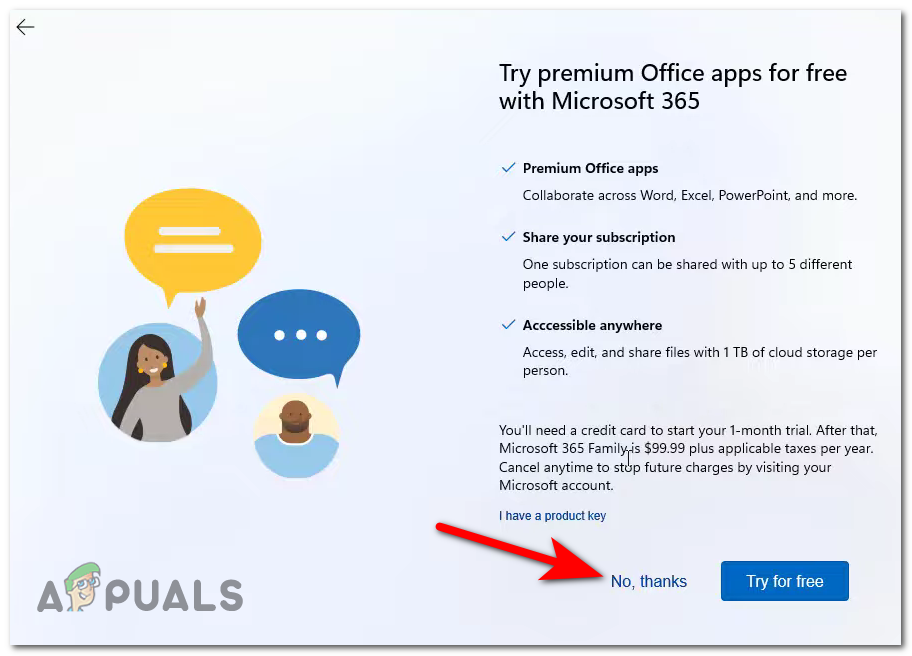
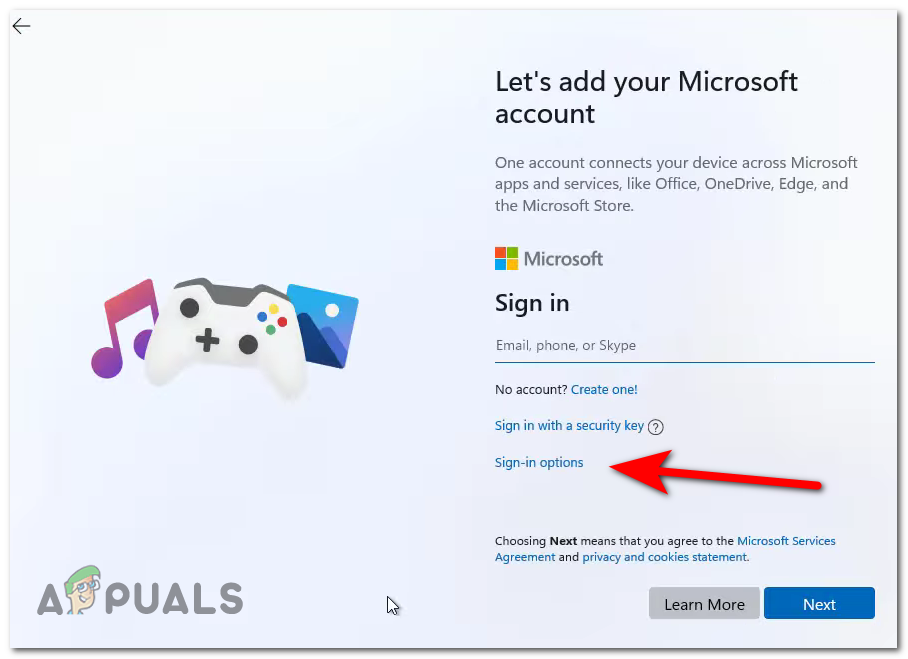
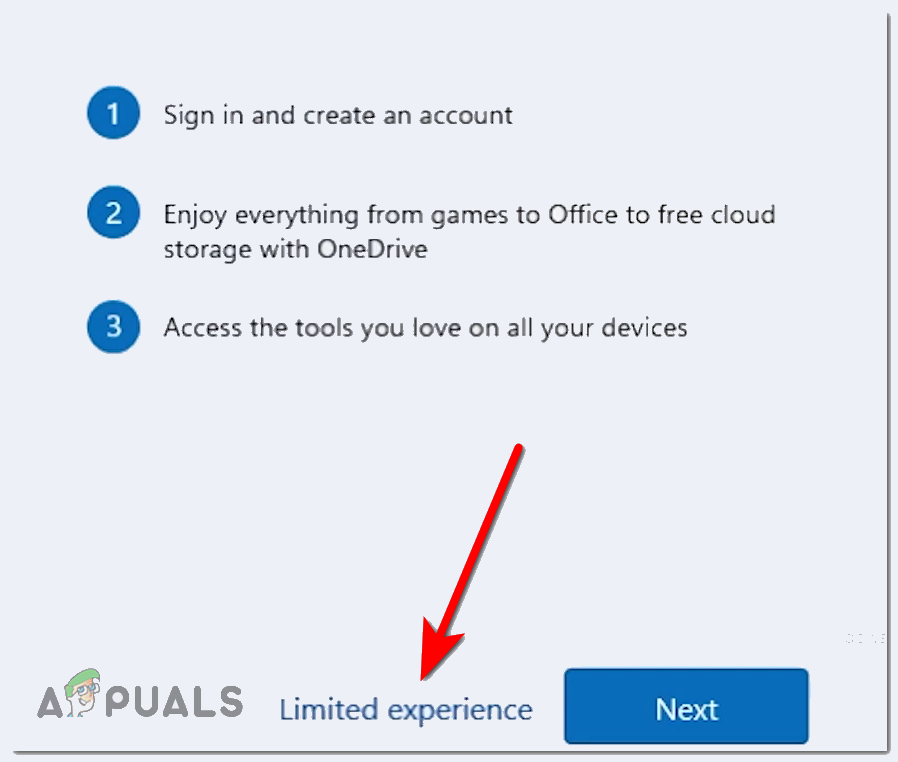
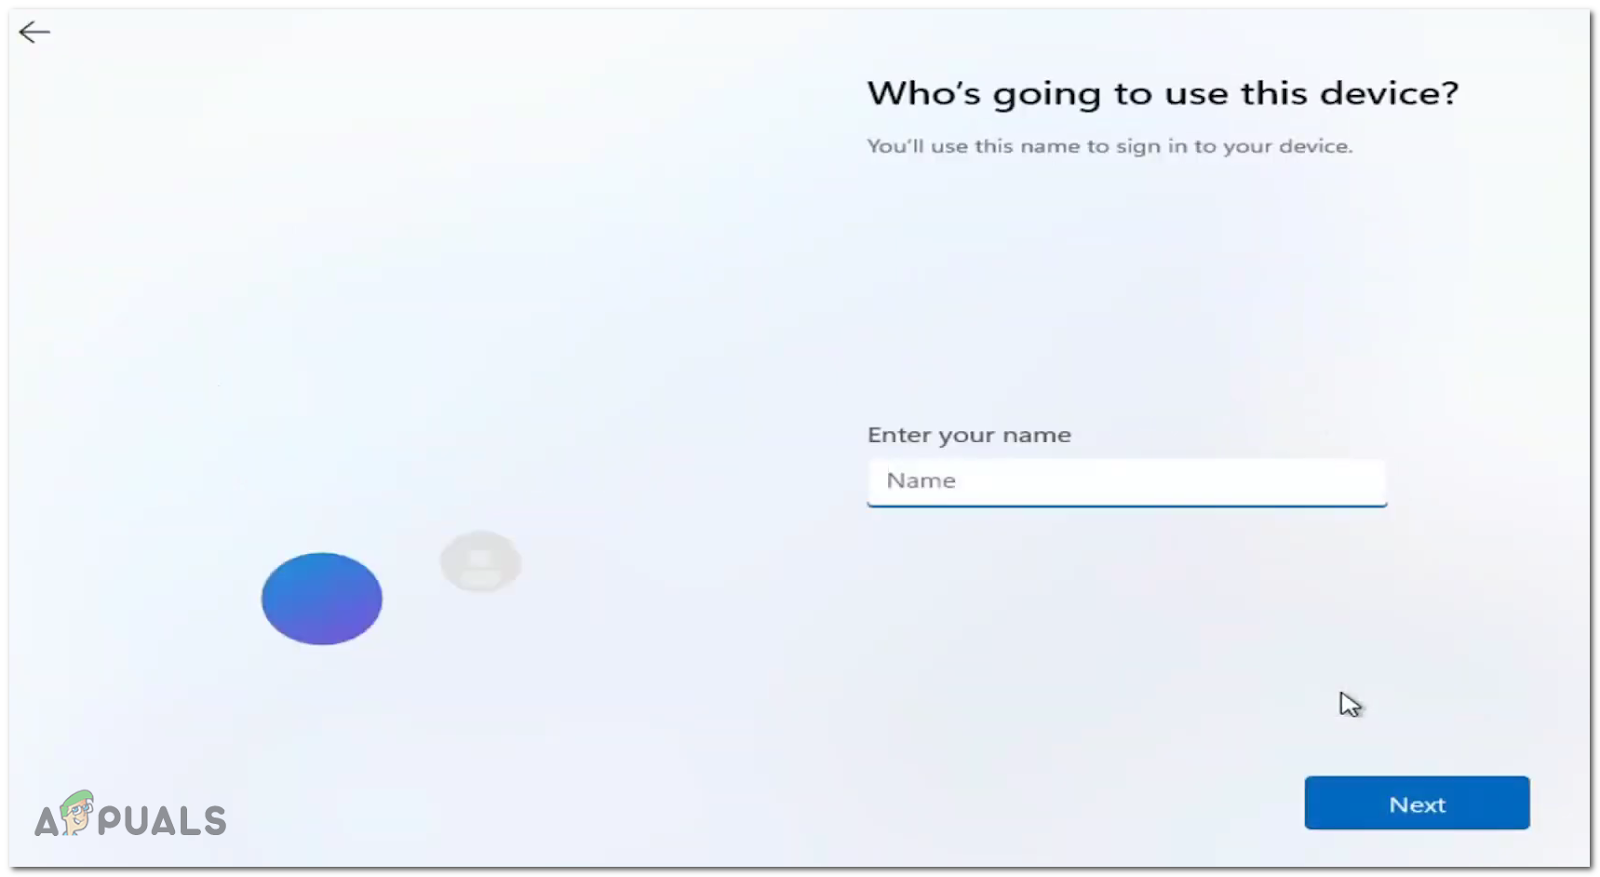
In case you’re still on an older Windows version, the easiest way to get access to Windows 11 is to sign up for the Windows Insider Program, downloading the latest version that Microsoft made public. But while upgrading the Windows and remaining with all the files, it also transfers the corrupted files, junk, and performance problems. Fortunately, you can avoid this issue altogether by doing a clean install of Windows 11, deleting everything on the driver you installed Windows 11 on. This will make your computer run as smoothly as possible.
Windows 11 Requirements
But before you do this, take the time to check the requirements of Windows 11 to make sure that your system meets them. Note: In the past, Microsoft had a tool (PC Health Check) on their official site that compares the Windows 11 system requirements with your PC specs. But since that’s no longer supported officially, you can use an alternative like WhyNotWin11. If you want to stay away from using third-party tools, you can just as easily compare your PC specks manually using the list below: Processor: 1 gigahertz (GHz) or faster with 2 or more cores on a compatible 64-bit processor or System on a Chip (SoC Memory: 4 GB RAM Storage: 64 GB or larger storage capability System firmware: UEFI, Secure Boot capable TPM: Trusted Platform Module (TPM) version 2.0 Graphics card: DirectX 12 compatible / WDDM 2.x Display: >9” with HD Resolution (720p) Internet connection: Microsoft account and internet connectivity required for setup for Windows 11 Home Once you’re certain that your PC is Windows 11 ready, you can safely follow the instructions below to Clean install Windows 11:
How to Clean install Windows 11 on compatible hardware
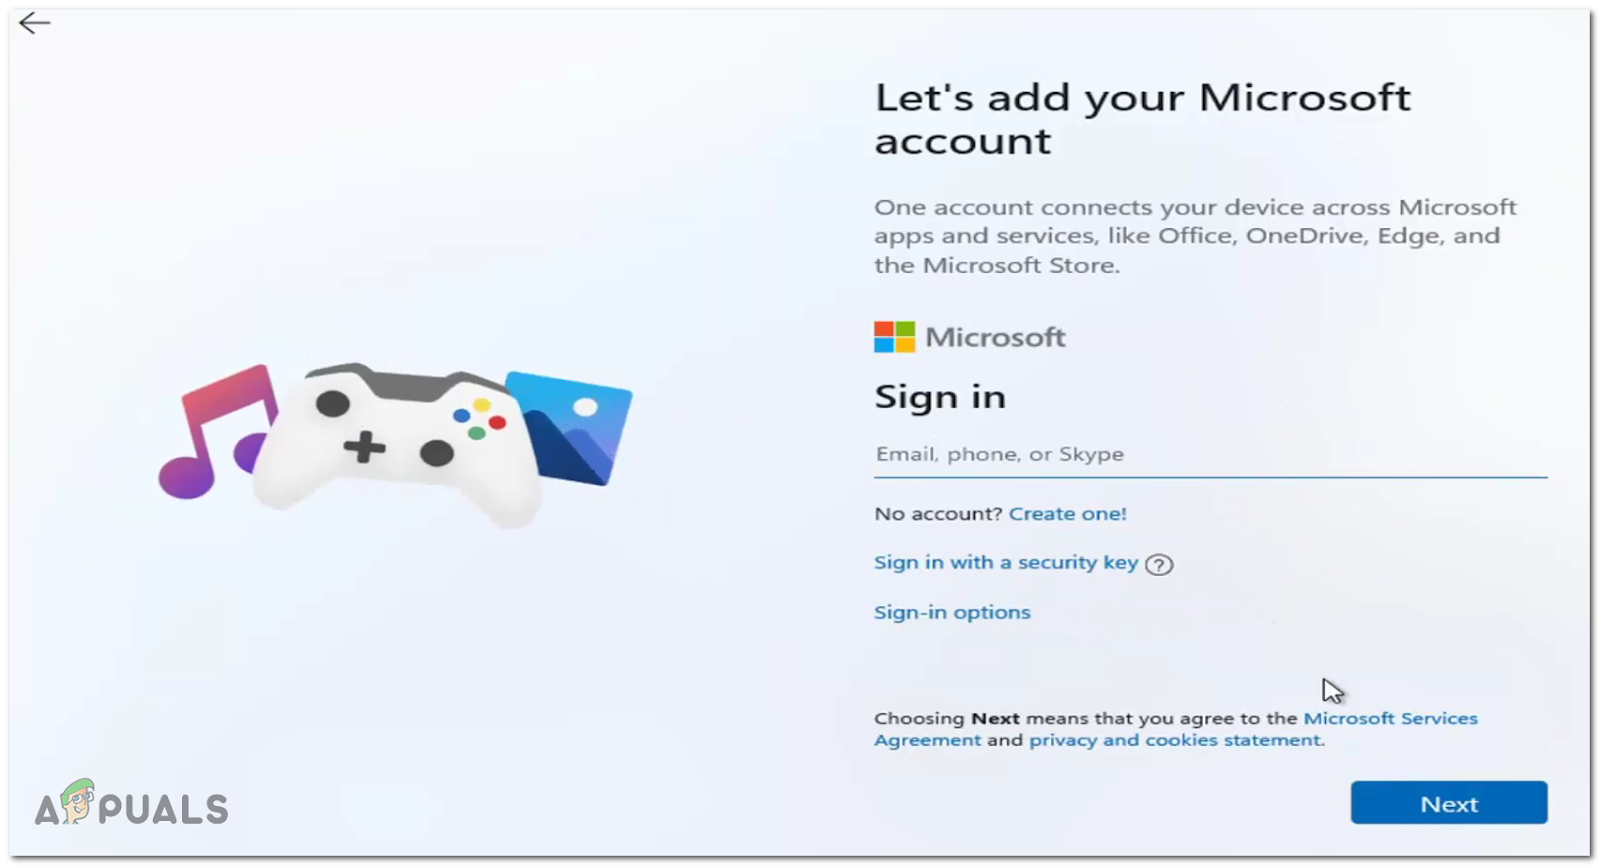
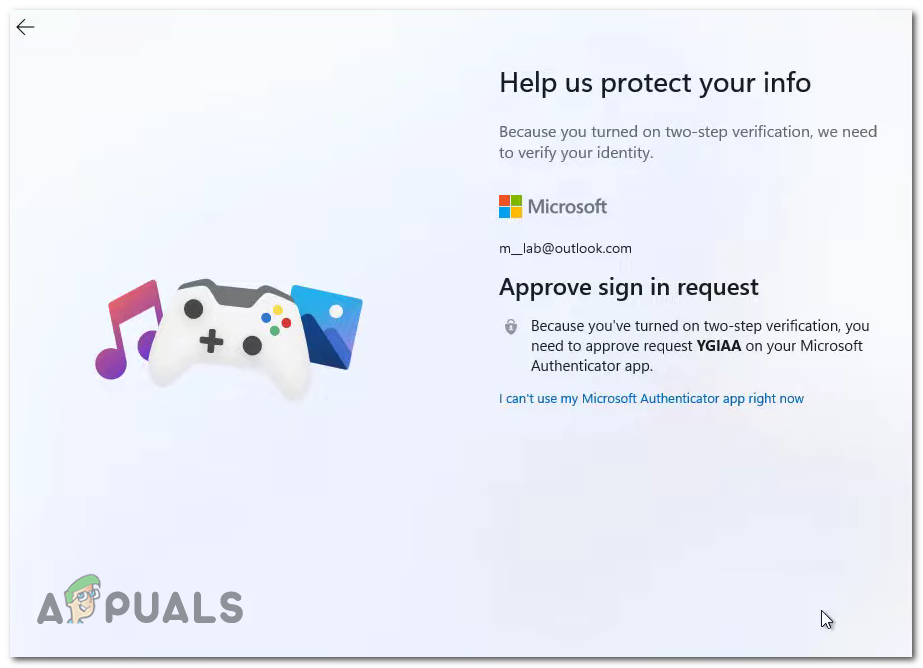
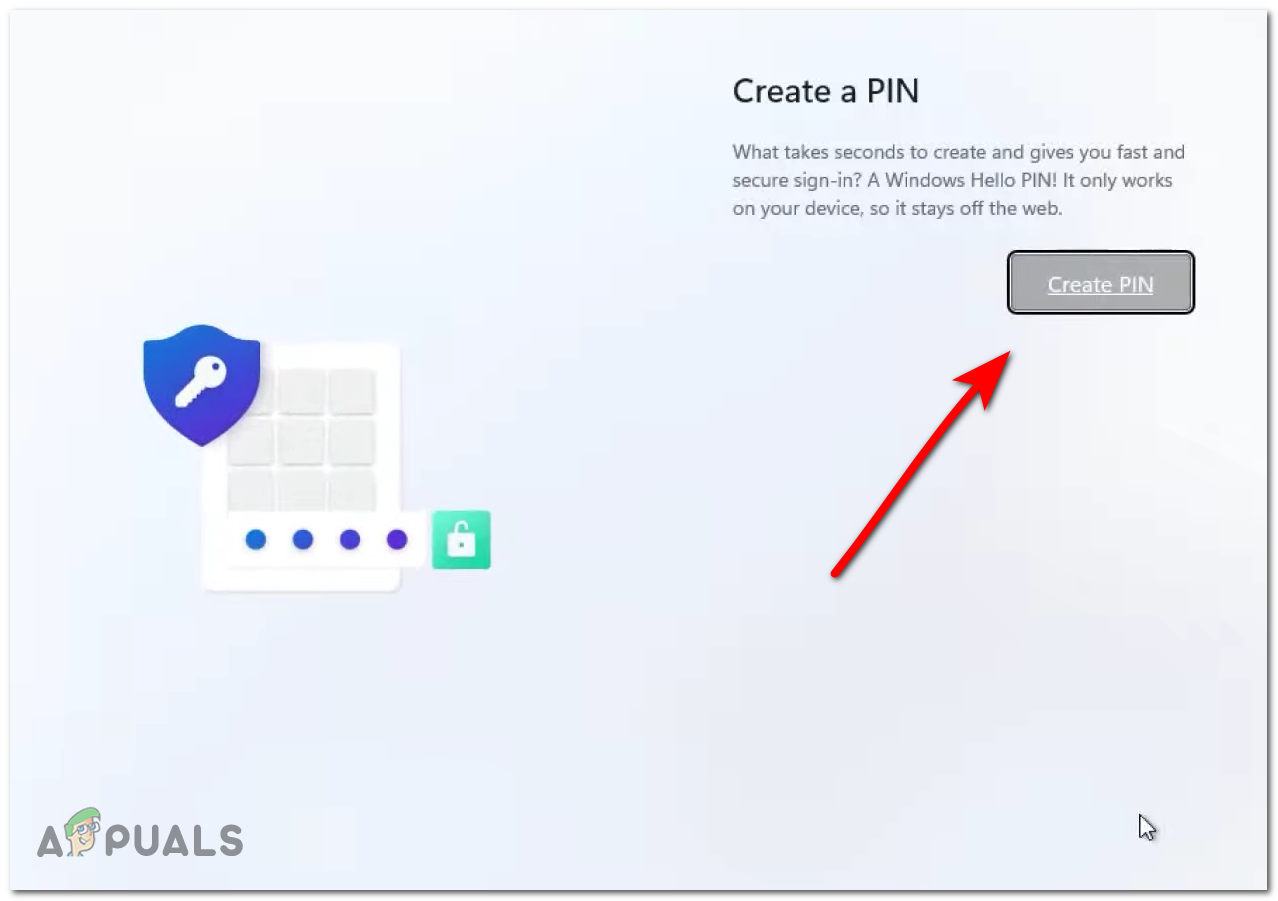
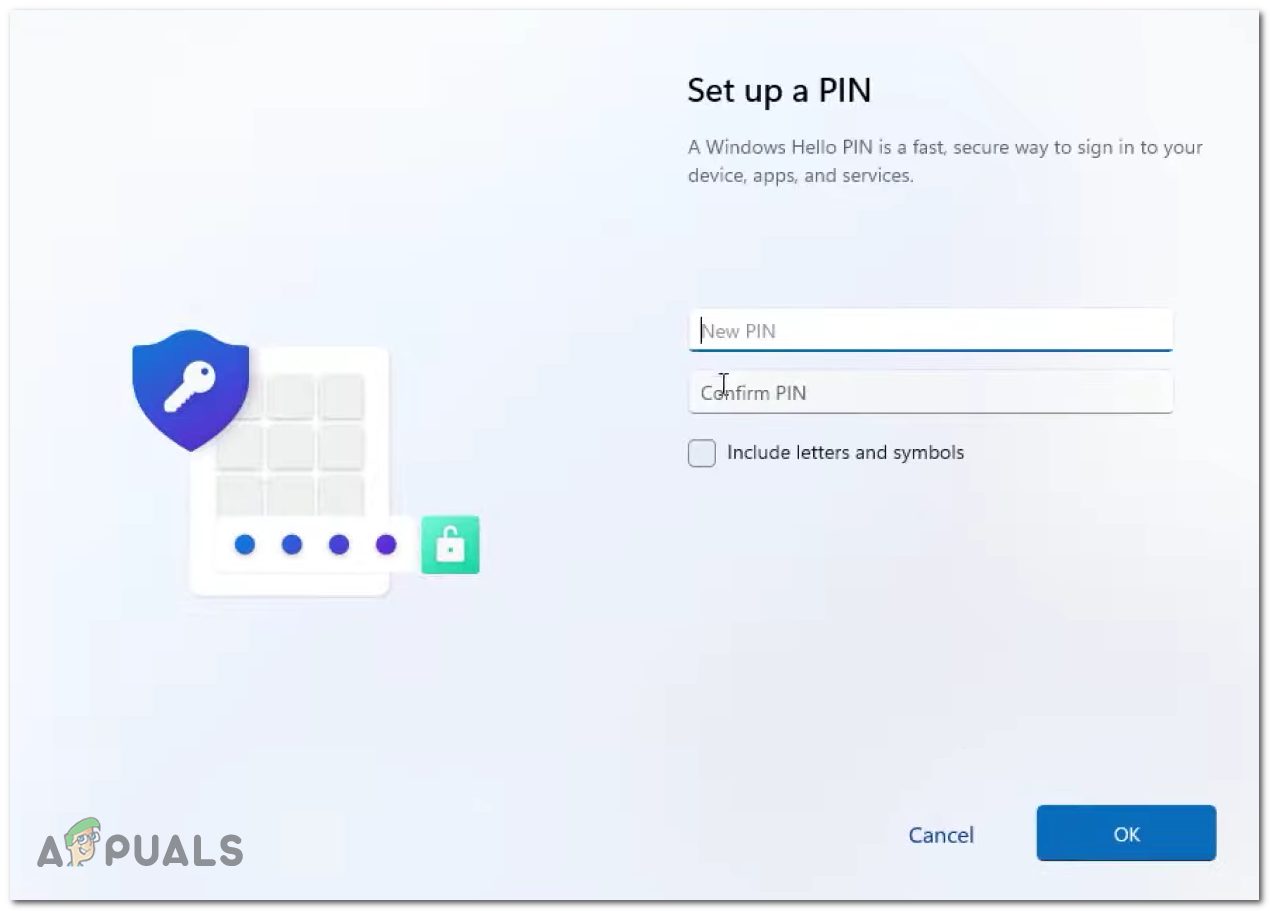
A. Configure Windows 11 with a Microsoft Account
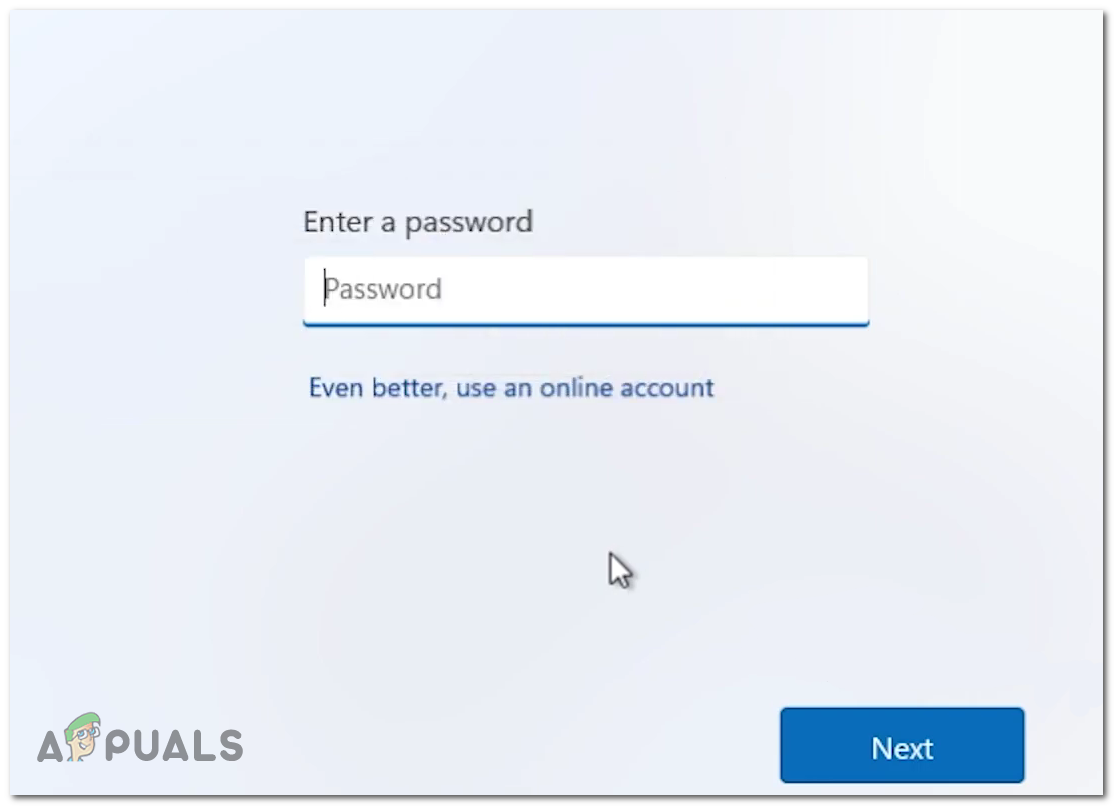
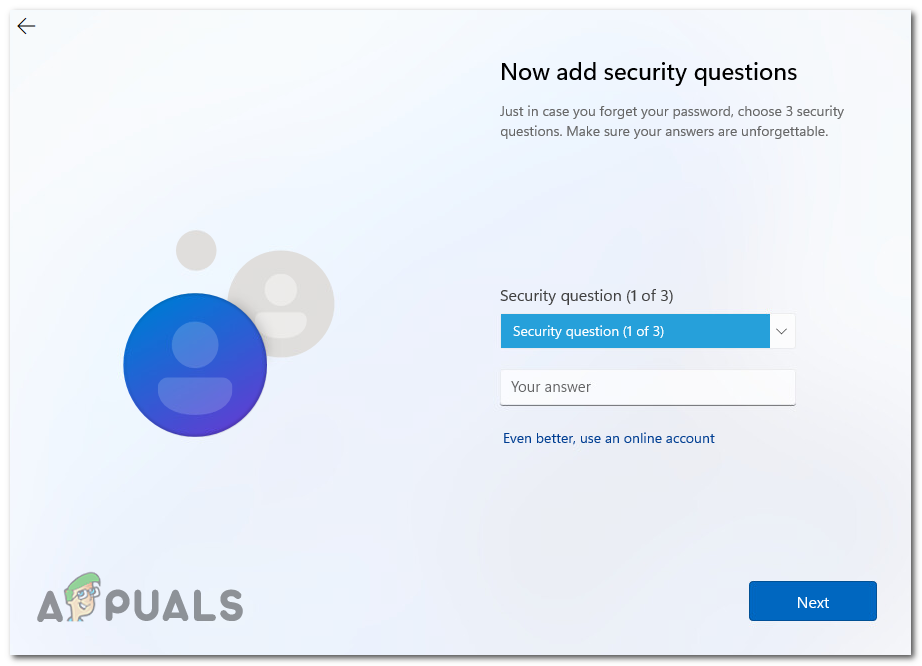
B. Configure Windows 11 with a Local Account
How to Clean Install Windows 10How To Use Windows Fresh Start PC Reset For A Clean Reinstall Of WindowsHow to: Clean Boot Windows 8/8.1/10How to Clean a Windows Computer’s Registry
